How to Create Amazing AI Images with BlueGPT: A Beginner's Guide
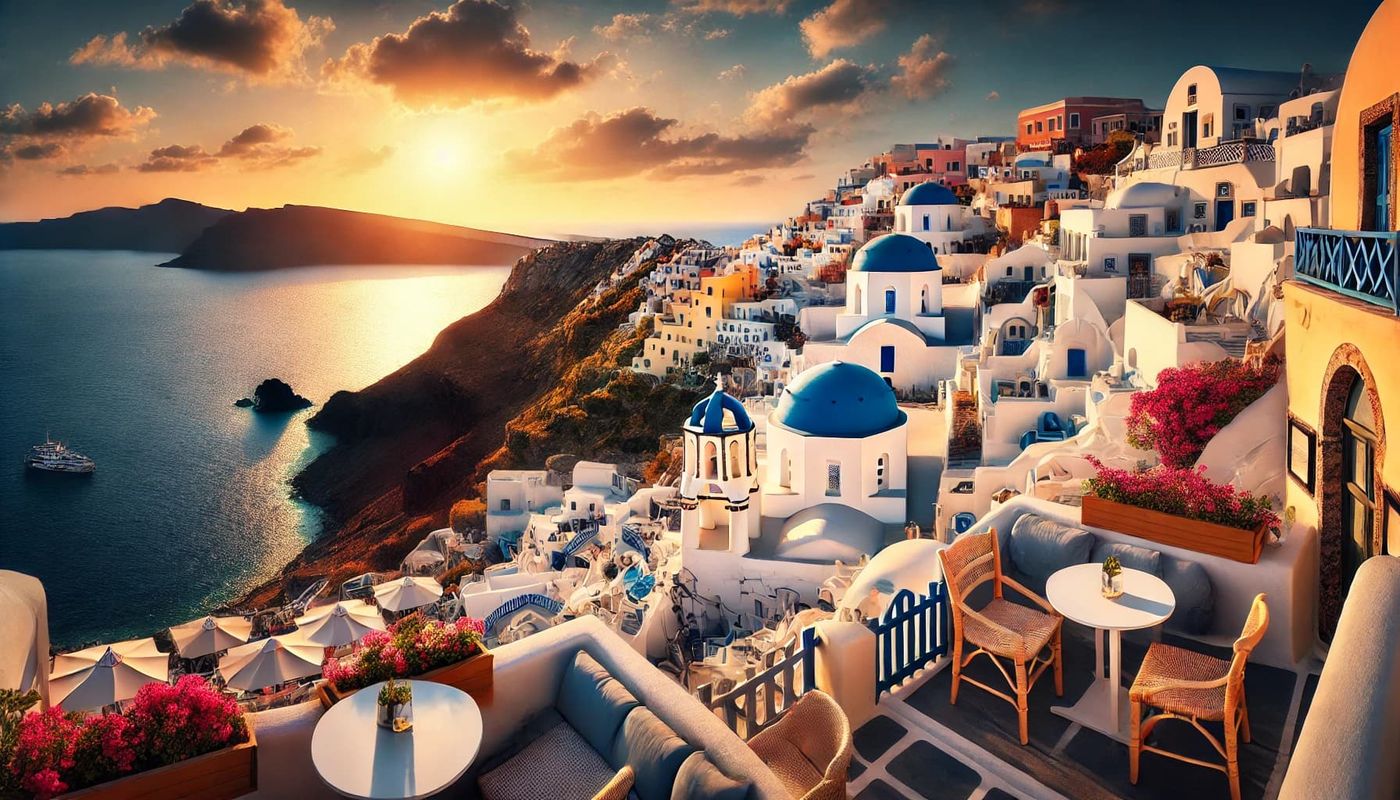
Welcome to the exciting world of simplified visual creation! If you've ever dreamed of effortlessly transforming your ideas into stunning images, you're in the right place. With BlueGPT, the future of graphic design is now at your fingertips.
Imagine being able to generate captivating visuals from simple descriptions in just a few clicks. Thanks to the integration of the best technologies on the market, such as those from OpenAI and Stability, BlueGPT makes this possible.
Not only will you save time, but you'll also discover a fun and intuitive way to bring your projects to life. In this tutorial, I'll guide you through the steps to make the most of BlueGPT, so you can create images that will make your content shine. Ready to unleash your creativity? Let's go!
What is BlueGPT?
BlueGPT is your essential ally for boosting productivity through artificial intelligence. Whether you're a novice in the field of visual creation or a seasoned professional, this all-in-one platform is designed to make your life easier. With BlueGPT, you have the power to generate impressive images directly from the platform, without requiring advanced technical skills. Imagine being able to transform ideas into captivating visuals with just a few clicks – that's what BlueGPT makes possible, by providing you with advanced technology that makes image creation both easy and fun.
Why use BlueGPT to generate images?
Using BlueGPT to generate images offers you several advantages:
- Speed: You can create images in just minutes, without needing technical design skills.
- Customization: Visuals are precisely tailored to your needs and preferences.
- Cost-effective: You reduce costs associated with purchasing or creating professional images.
The 4 key steps to mastering image creation with AI
Step 1 - Define your objective
To create impactful images, start by clearly defining what you want to achieve.

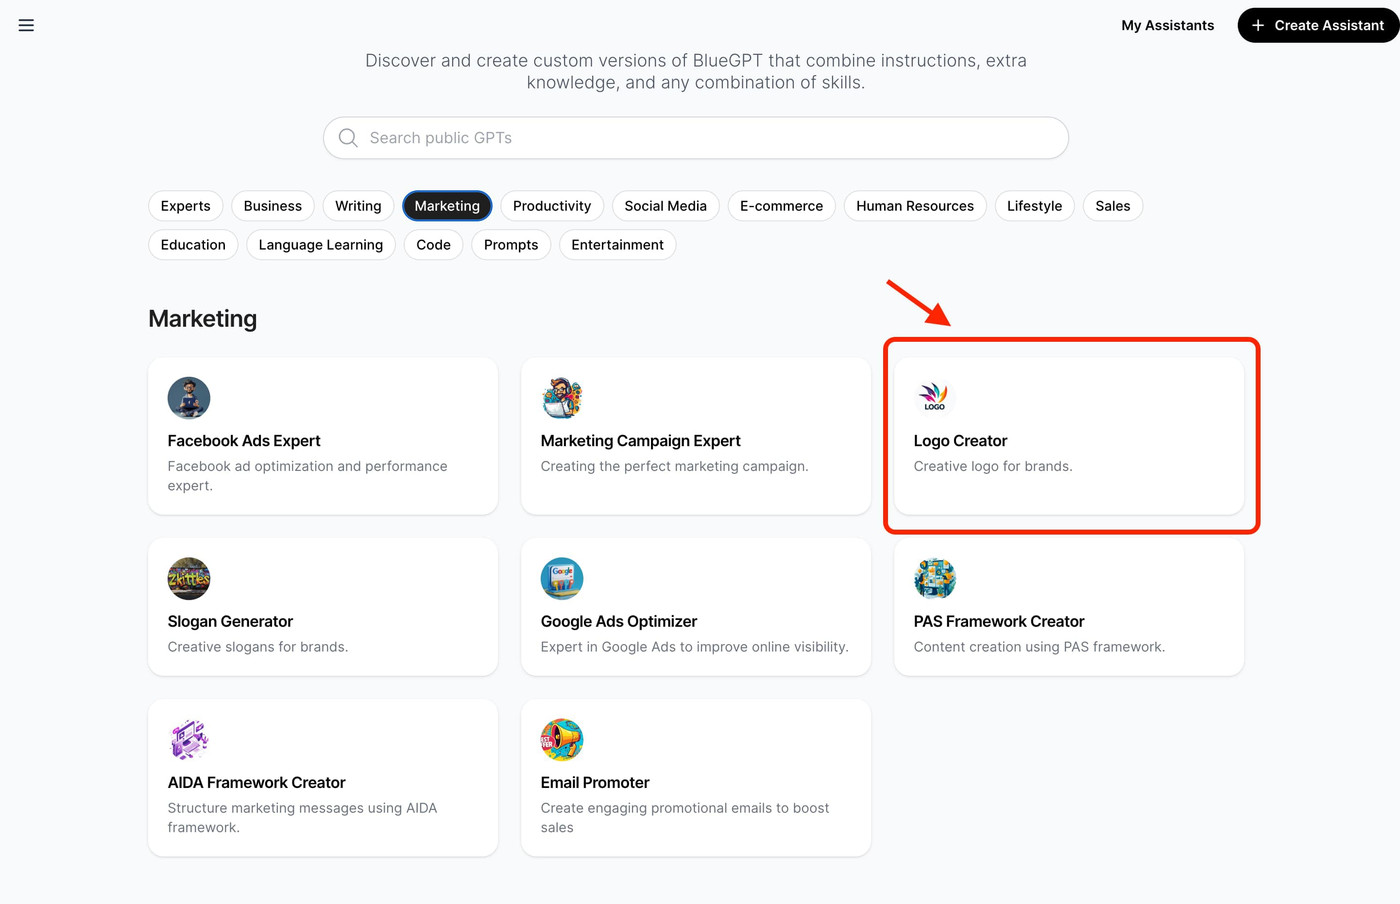
Step 2 - Identify a style
After defining your objective, choose the style that matches your vision.


Step 3 - Choose the format
Select the format of your image based on its intended use.

Step 4 - Write a prompt
Write a clear prompt to guide the AI in creating your image.

Examples of effective prompts
- "A sunset on a tropical beach with palm trees and calm waves."
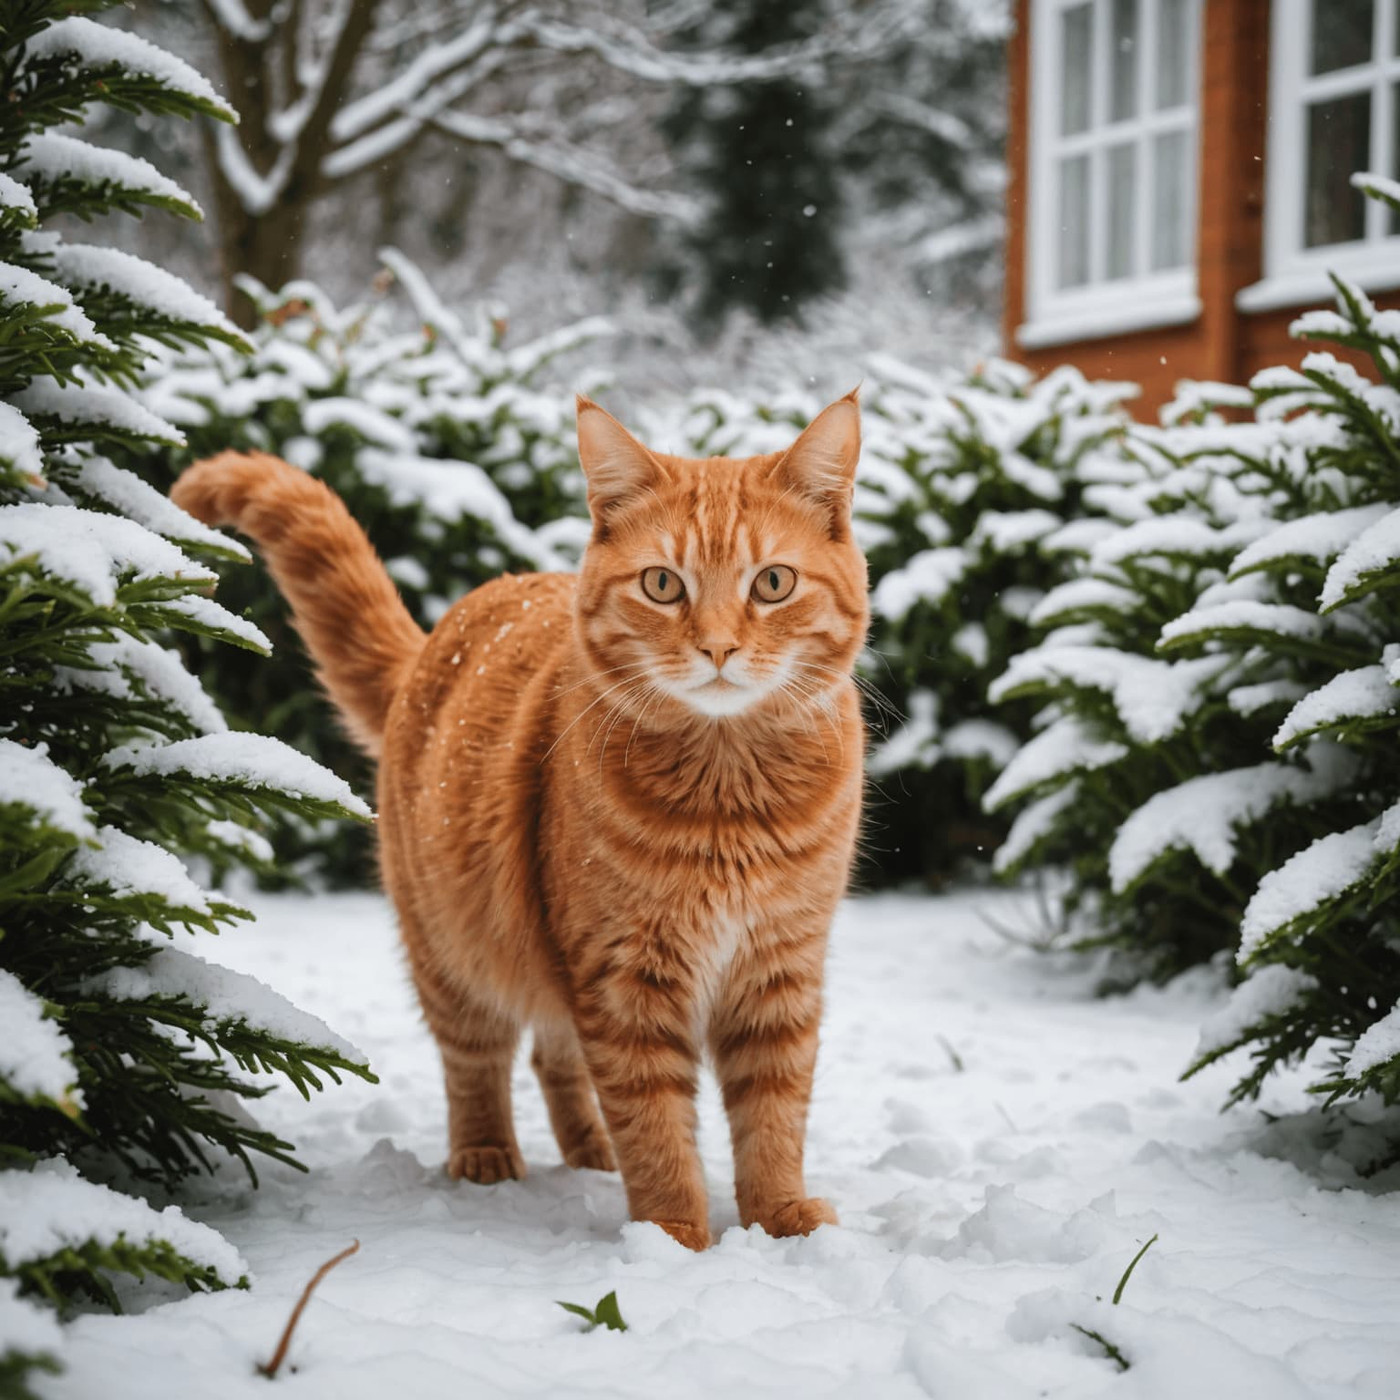
- "A ginger cat in a snowy garden"
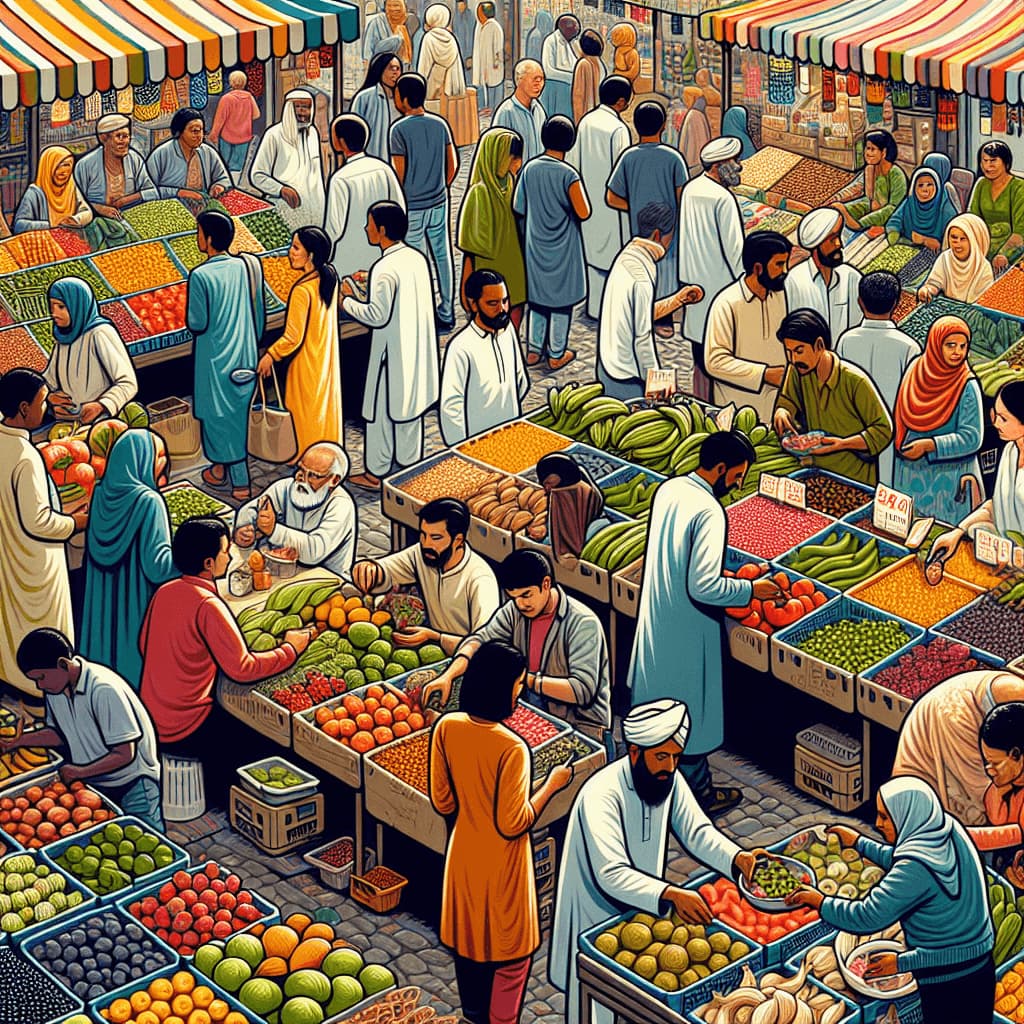
- "A bustling market scene with colorful fruit and vegetable stalls and people shopping."

Mastering Your First AI Image Generation with BlueGPT
Creating amazing images with BlueGPT is a breeze thanks to this simple three-step method:
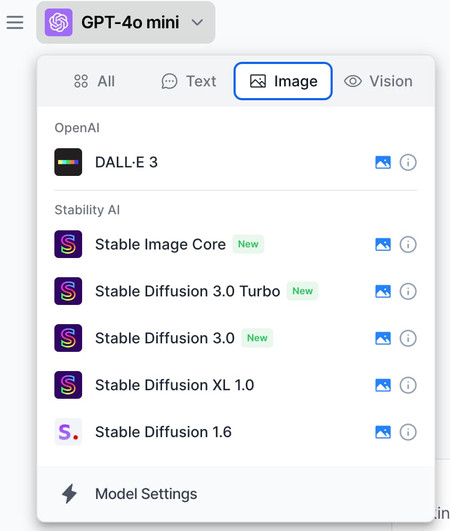
1. Choose the model
Select the AI model that fits your creative needs. BlueGPT offers over 7 models accessible with a single click. Choose between OpenAI's DALL-E3 or one of StabilityAI's super-powerful models like Stable Diffusion 3.0.
2. Share the prompt
Write a clear and detailed prompt describing what you want to create. BlueGPT makes this step easy with a user-friendly interface that supports all languages, allowing you to guide the AI effectively.
3. Choose the style and format
Customize your image by selecting from over 100 styles and three different formats (square, portrait, landscape). This flexibility ensures that your visuals are perfectly suited to your project and platform.

And you're done!
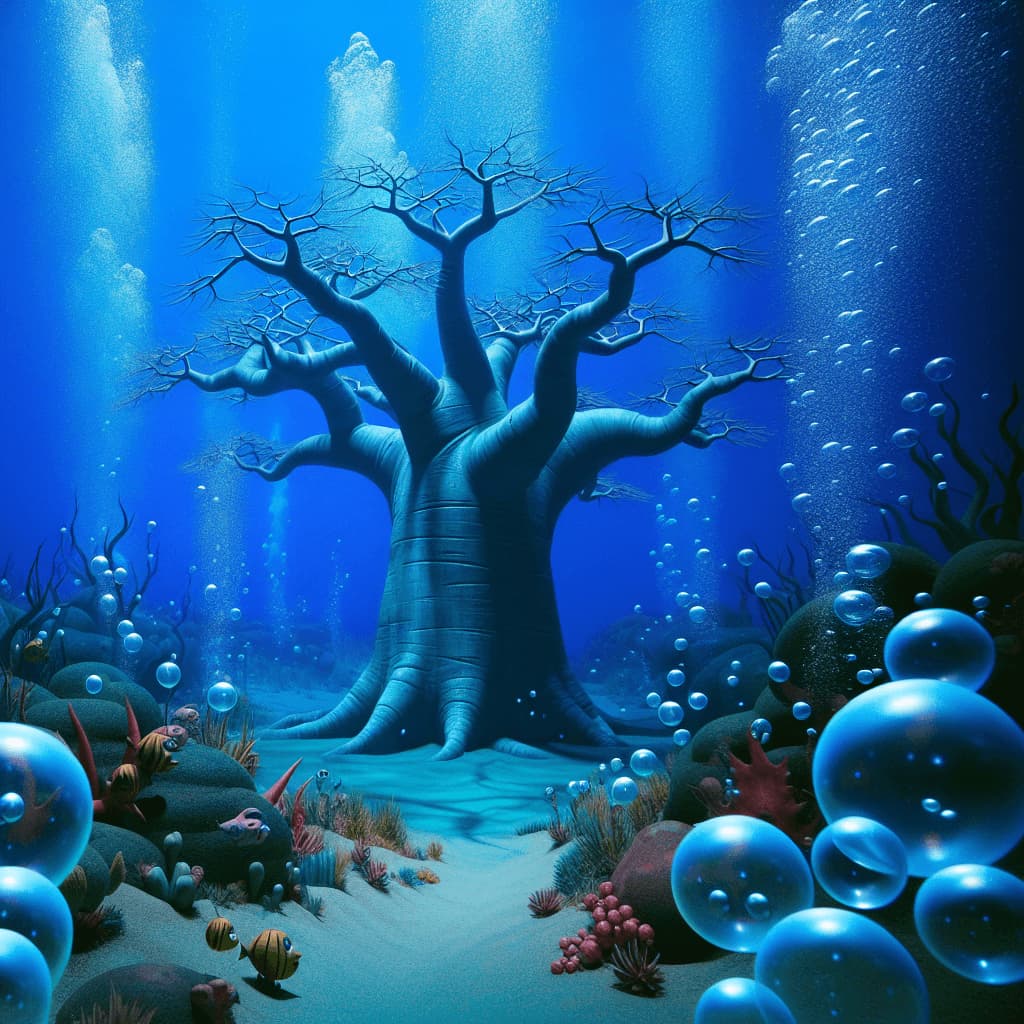
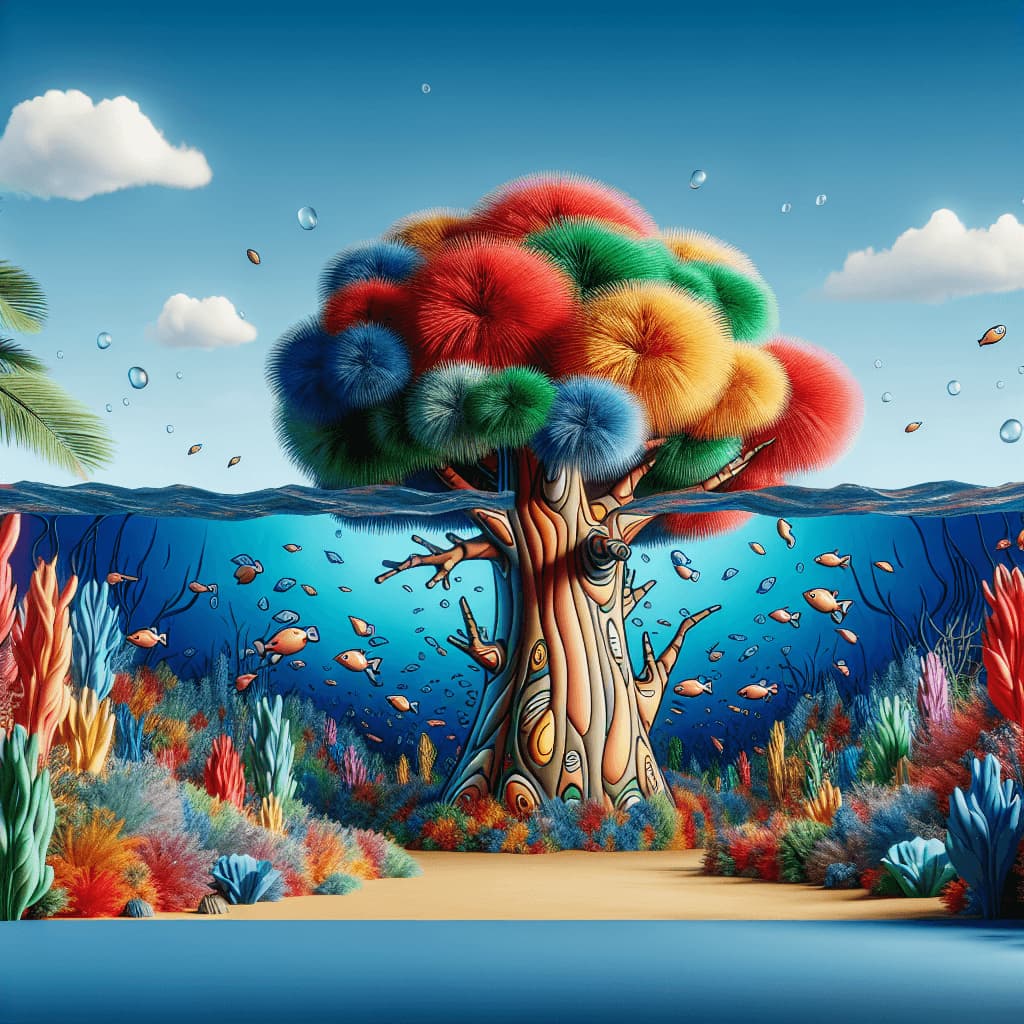
You now have AI-generated images, ready to enhance your content with creativity and efficiency.
Tips for Improving the Quality of Generated Images
Use Visual References and Comparisons
Visual references and comparisons can greatly enhance the quality of generated images. For instance, saying "a dense forest similar to the Amazon jungle" gives a better idea of the desired result than simply "a dense forest".
Play with Details to Achieve the Desired Image
Don't be afraid to experiment with details. If you want your image to have a specific mood, describe the elements that contribute to that mood. For example, for a romantic scene, you might include details like "soft lighting", "a starry sky", and "a couple dancing under the moonlight".
Repeat and Adjust Requests to Perfect the Image
Repetition is key to perfection. Don't get discouraged if the initial image isn't perfect. Adjust your descriptions, test different versions, and keep refining until you get the ideal image.
Common Mistakes and How to Avoid Them
I offer you additional tips to ensure the creation of beautiful images every time.
Here are some frequent errors you might encounter:
- Overly vague descriptions: If your description is too general, the generated image will likely be disappointing. Be specific in your requests.
- Lack of relevant details: Omitting important details can lead to an incomplete or incorrect image. Include as much relevant information as possible.
- Inconsistencies in the description: Inconsistent descriptions can confuse ChatGPT. Make sure all elements of your description align well with each other.
Solutions and Tips to Avoid These Errors
- Be precise: Provide detailed and accurate descriptions.
- Check for consistency: Review your description to ensure it's coherent and logical.
- Refine gradually: Start with a general description, then add details bit by bit to refine the image.
Complementary tools to enhance AI-generated images
To further improve images generated with BlueGPT, here are some essential complementary tools:
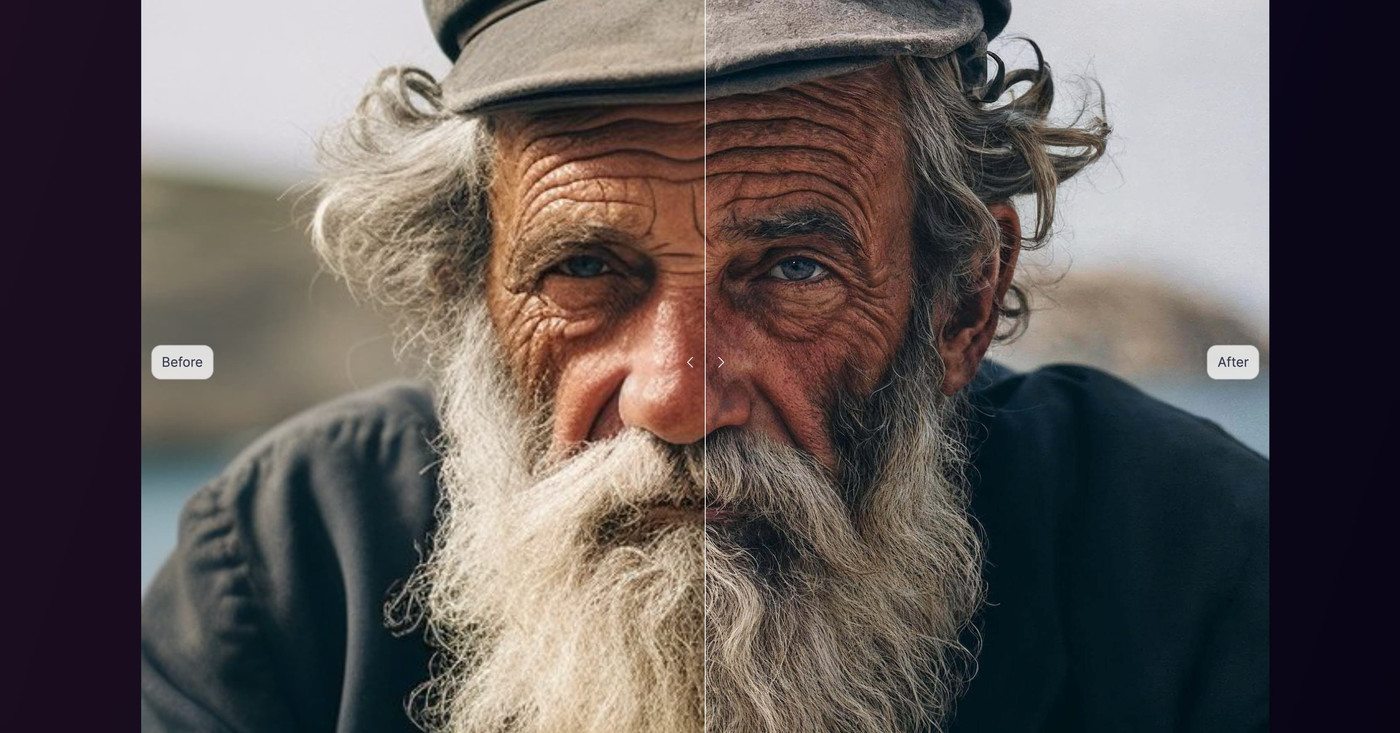
1. Magnific AI
Boost your images with automated enhancements using Magnific AI. This powerful tool uses artificial intelligence to refine, retouch, and enrich your visuals, adding professional-quality details to your creations.
2. Canva's Magic Studio
Transform your generated images into flawless designs with Canva's Magic Studio. This service offers advanced graphic design features, such as customizable templates, visual elements, and layout tools, to create visuals that captivate and inspire.

3. Clipdrop by Jasper AI
Enhance and retouch your images with Clipdrop by Jasper AI. With its image editing and cleaning features, you can easily adjust details, remove unwanted elements, and fine-tune your visuals for a perfect final result.
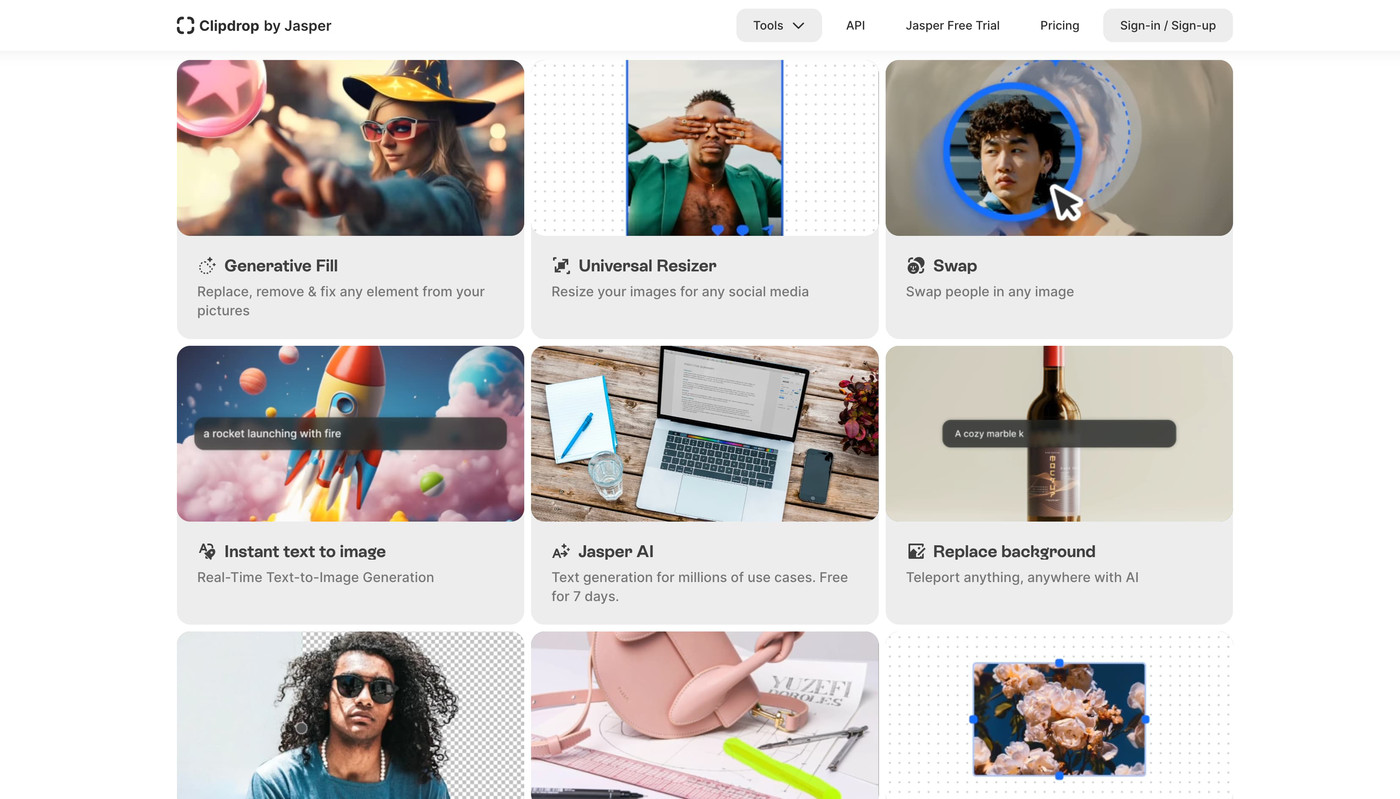
These complementary tools allow you to add a professional and creative touch to your generated images, maximizing their impact and visual quality.
Best results from the BlueGPT community 💙
Discover how our users are leveraging BlueGPT to transform their content and achieve tangible results.

Travel blog: Images that captivate and engage.
A blogger used BlueGPT to create vibrant visuals of exotic destinations.
"The generated images really captured the essence of the places I describe, which significantly increased reader engagement and time spent on my site."
E-commerce: Products showcased effectively.
An online store generated custom product images with BlueGPT. Their marketing manager states:
"Thanks to BlueGPT, we not only improved our product presentation but also reduced our photography costs. The results speak for themselves: a clear increase in sales."
Social media marketing: Visuals that boost engagement.
A company used BlueGPT for its social media campaigns. The social media manager adds:
"The visuals created with BlueGPT have really boosted our reach and engagement rate. They've become an essential asset in our content strategy."
These testimonials demonstrate the positive impact of BlueGPT across various sectors. Explore the endless possibilities and discover how this tool can transform your visual content and boost your results. Get started today and see for yourself how BlueGPT can make a difference!
It's your turn now!
